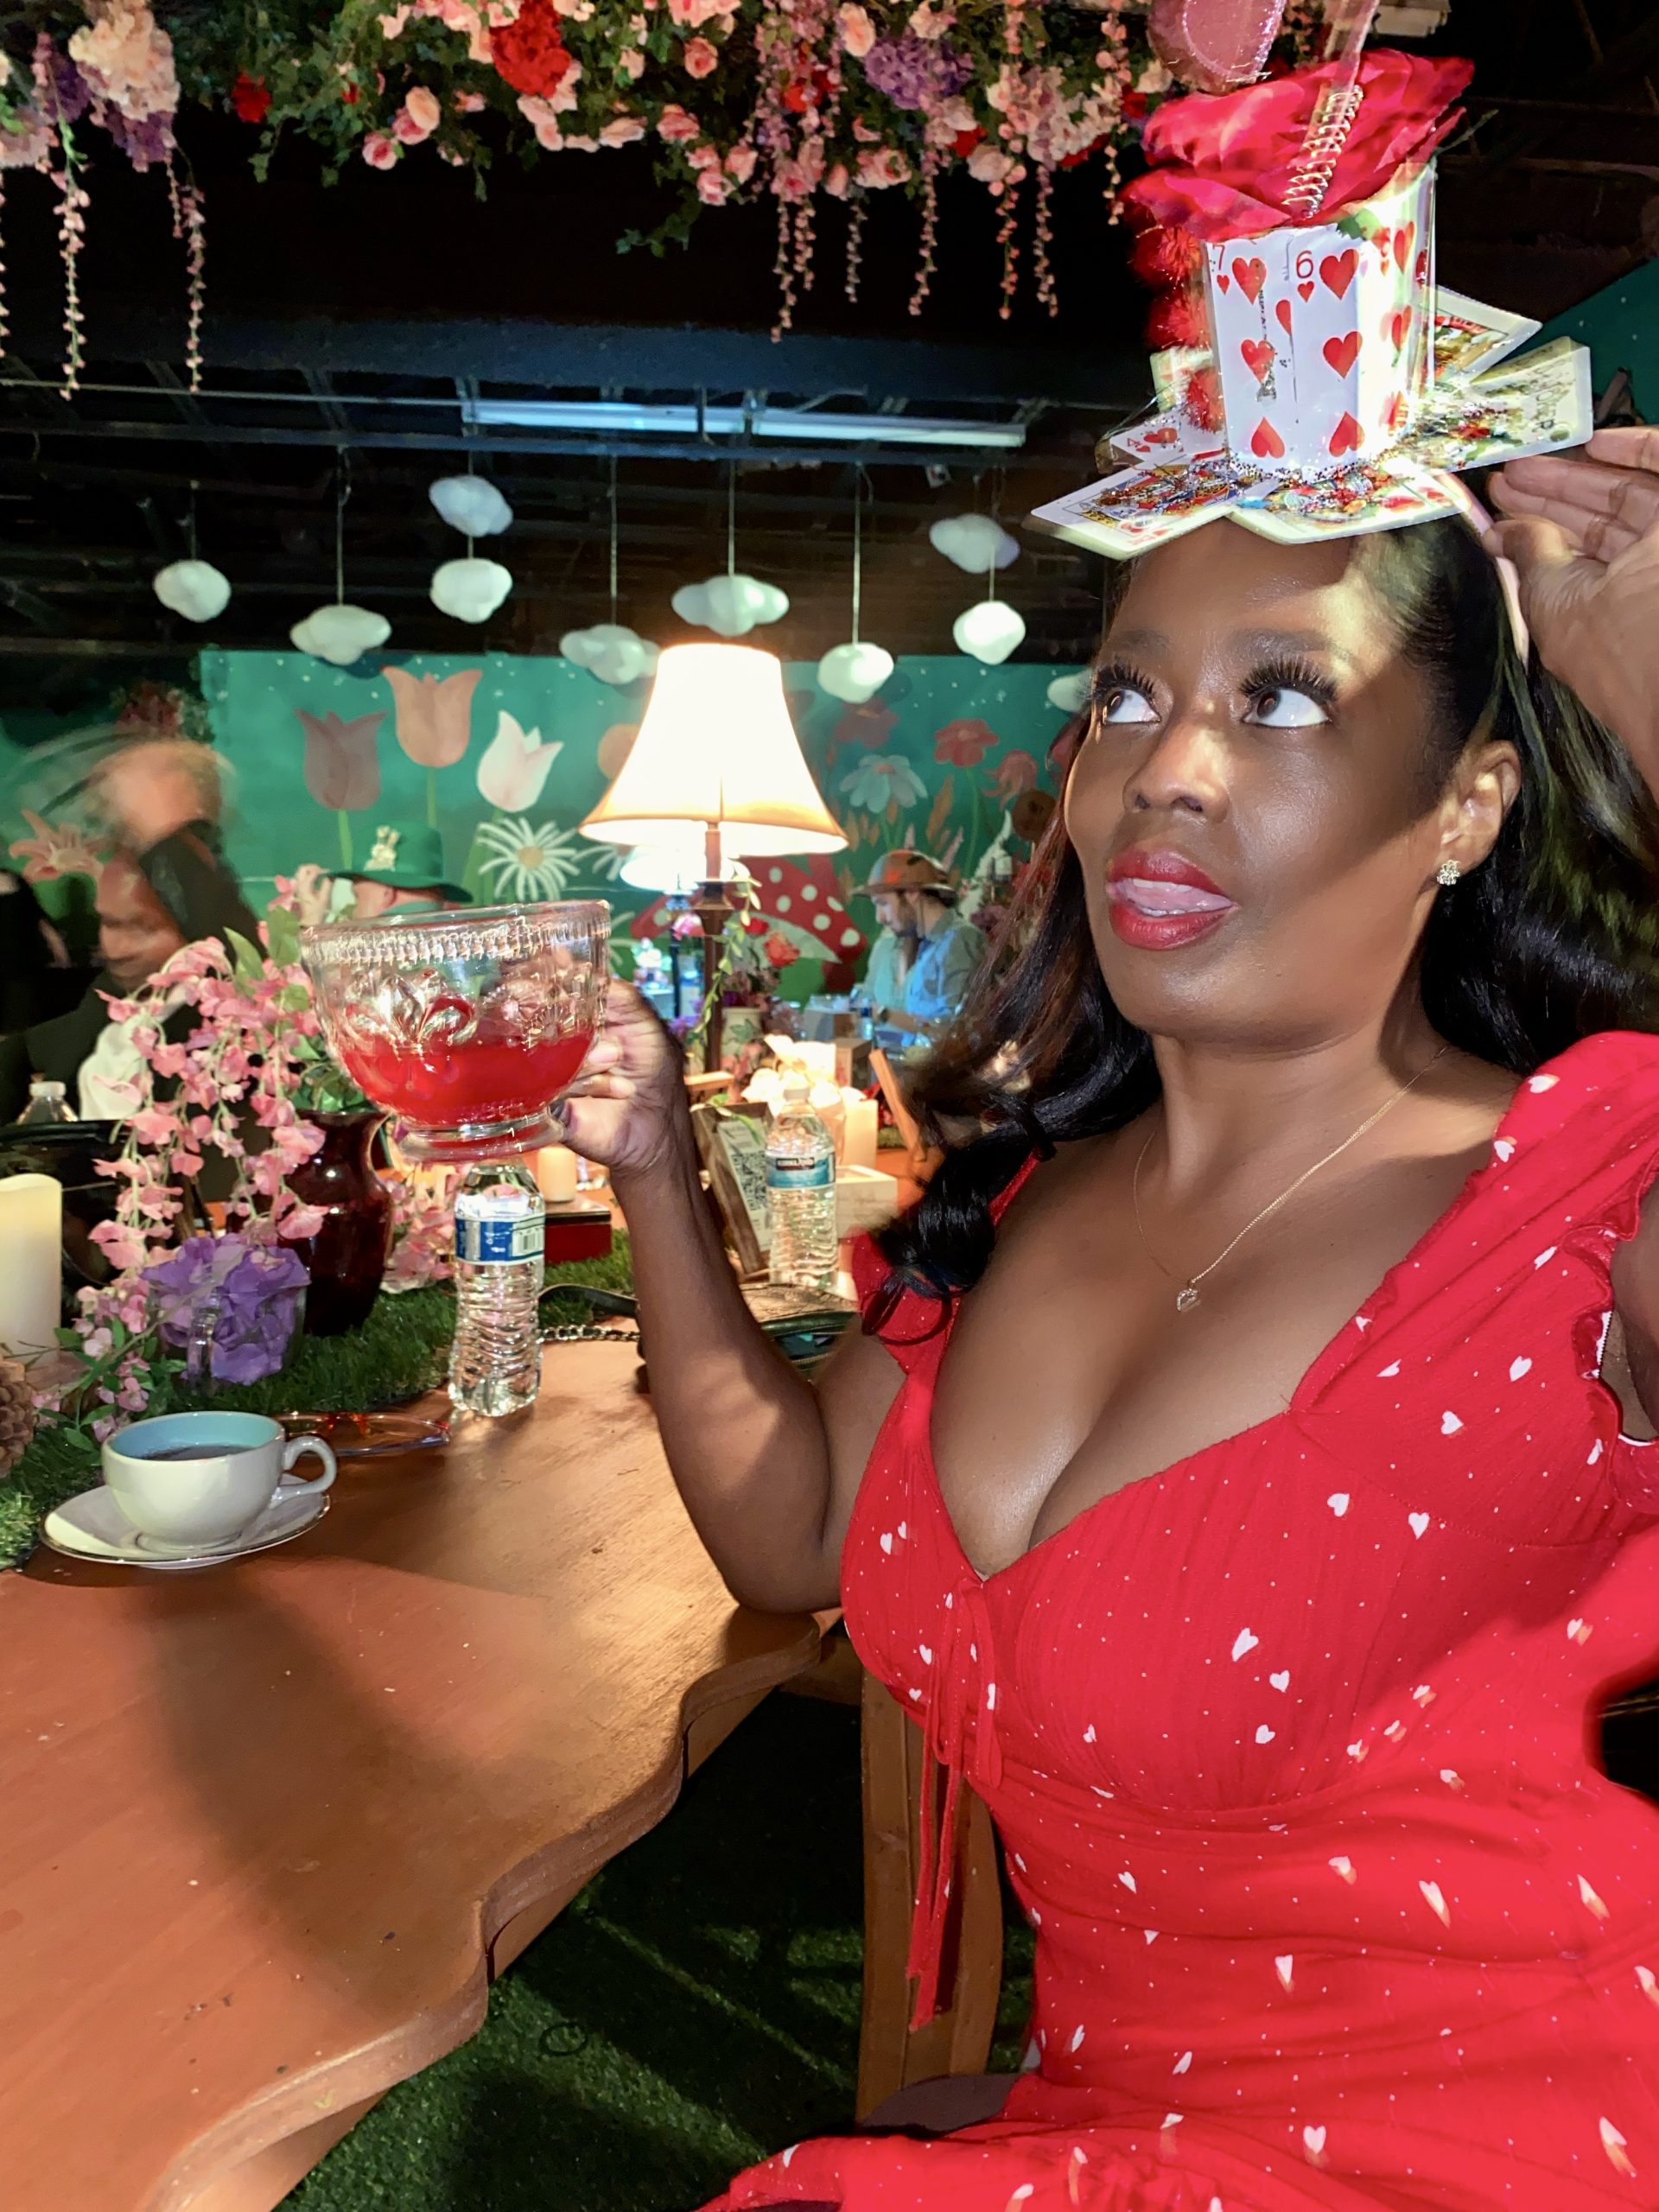
Last Friday, I went to a Alice In Wonderland themed tea party and I thought to make a whimsy fascinator. Thats when I went on Pinterest and typed in Queen of Hearts DIY hats and I saw an image pop up. It gave detailed instructions on how to make a Queen of Hearts mini hat by hot gluing playing cards in tea cup shape, and using ribbon and faux rose.
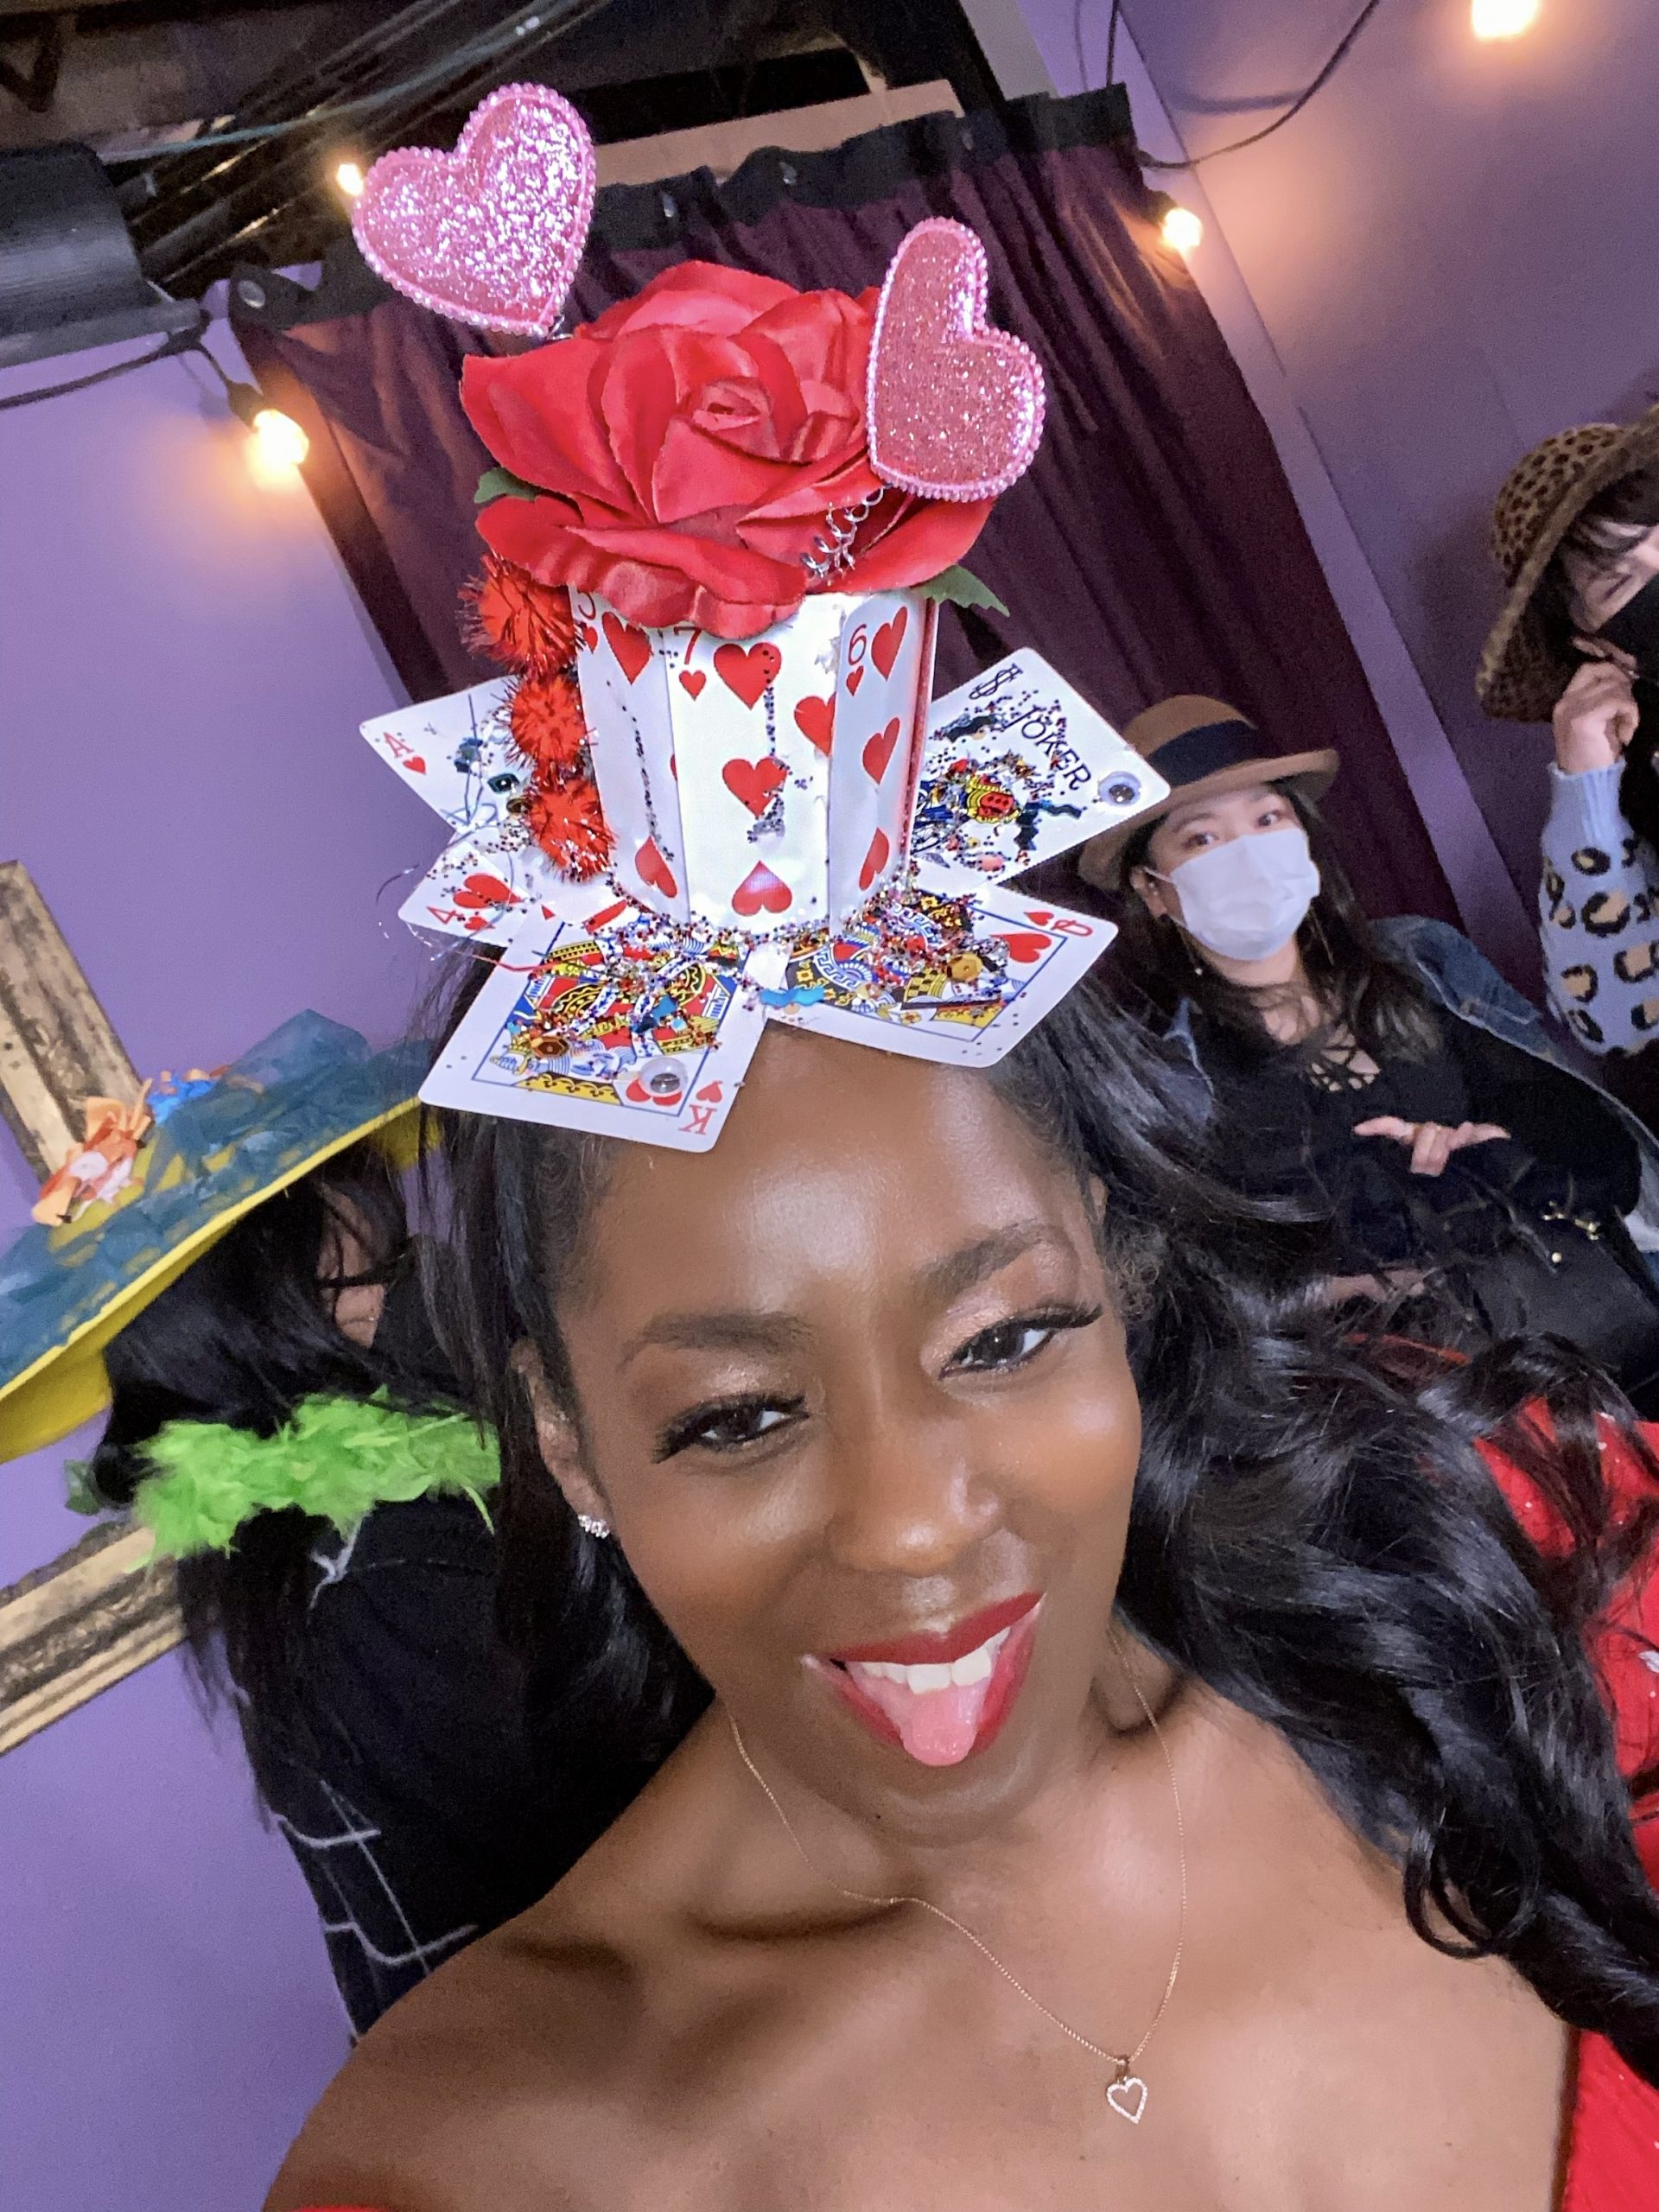
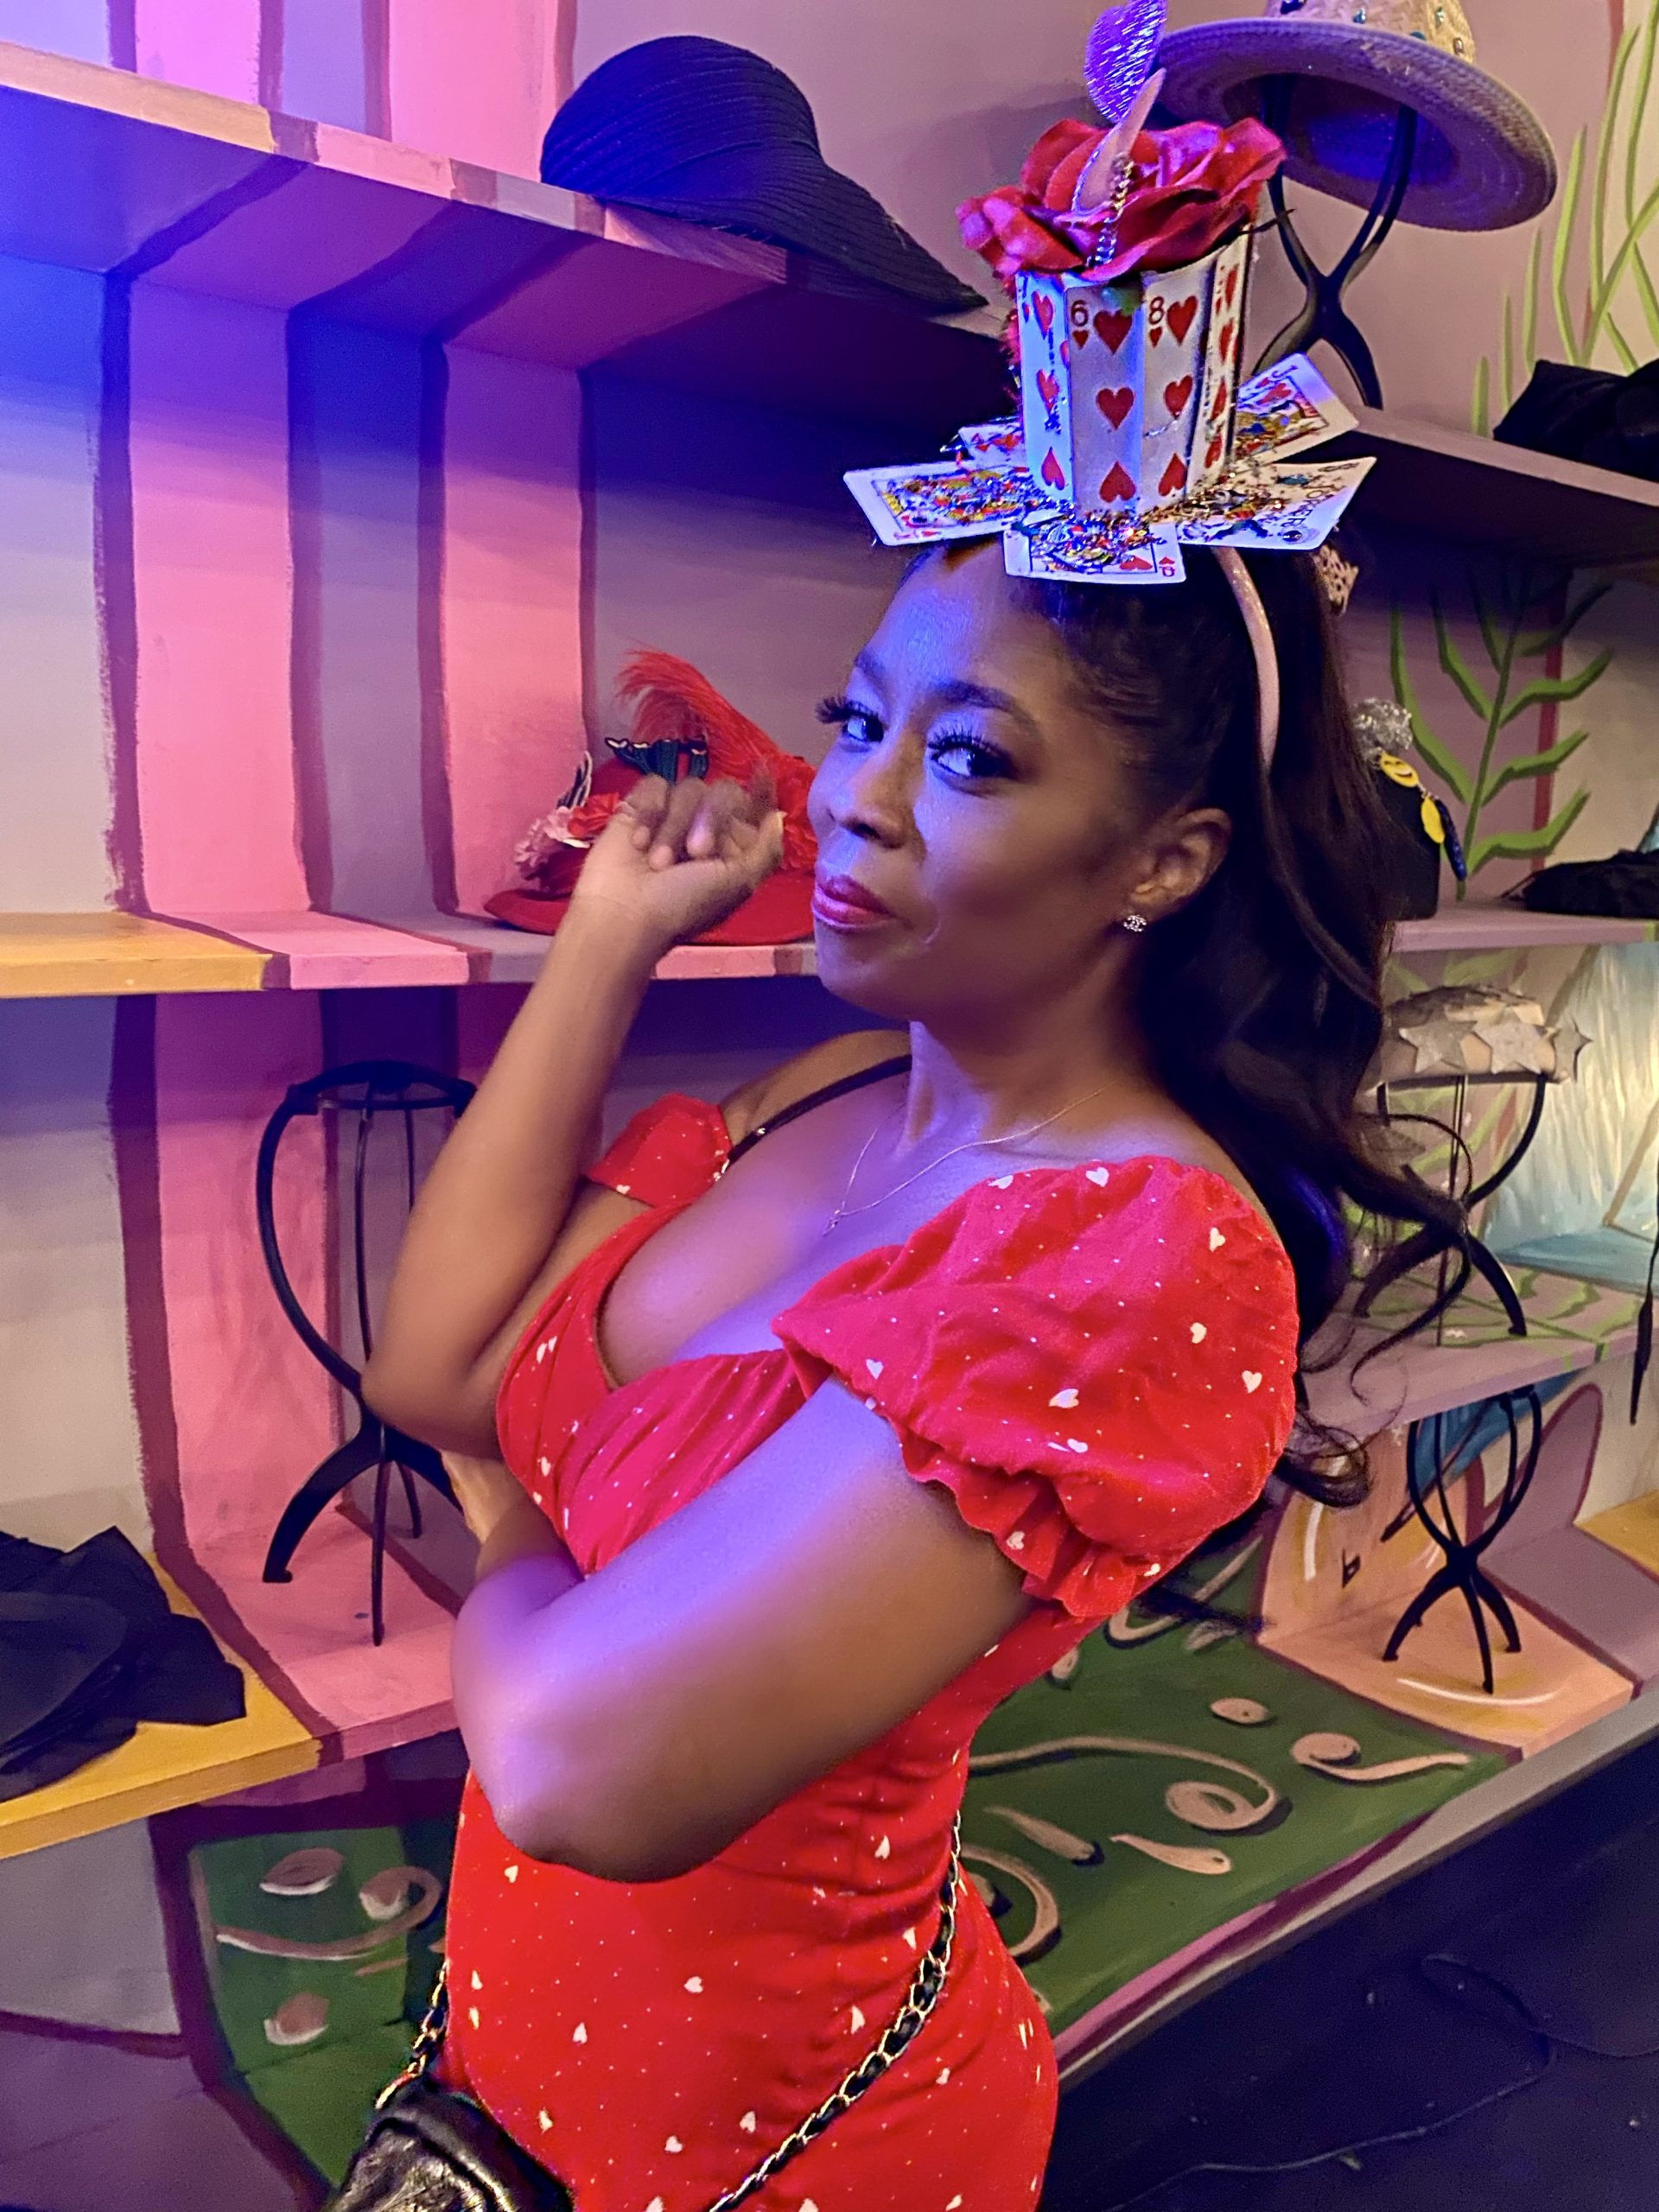
I have always been a pretty creative person and handy with a glue gun, so I ran to my local Walgreens to purchase playing cards and everything else I had here at my place. I quickly got to glueing and designing my fascinator and this is the result of it! I wore it to the event and everyone stopped me asking where did I buy it lol. I told them I made it in under 30 minutes, it was so easy!
Once I posted my pictures on social media, everyone wanted to know where to buy until I revealed that I handmade it! I didn’t really think it was a big deal, I threw this together so fast but I think it could have came out even better if I wasn’t pressed for time lol. Still, inside I give details on how to create this fancy fascinator, hope you enjoy!
What you’ll need:
One deck of playing cards
Glue gun
Embellishments you want to add, rhinestones, glitter etc
Step 1:
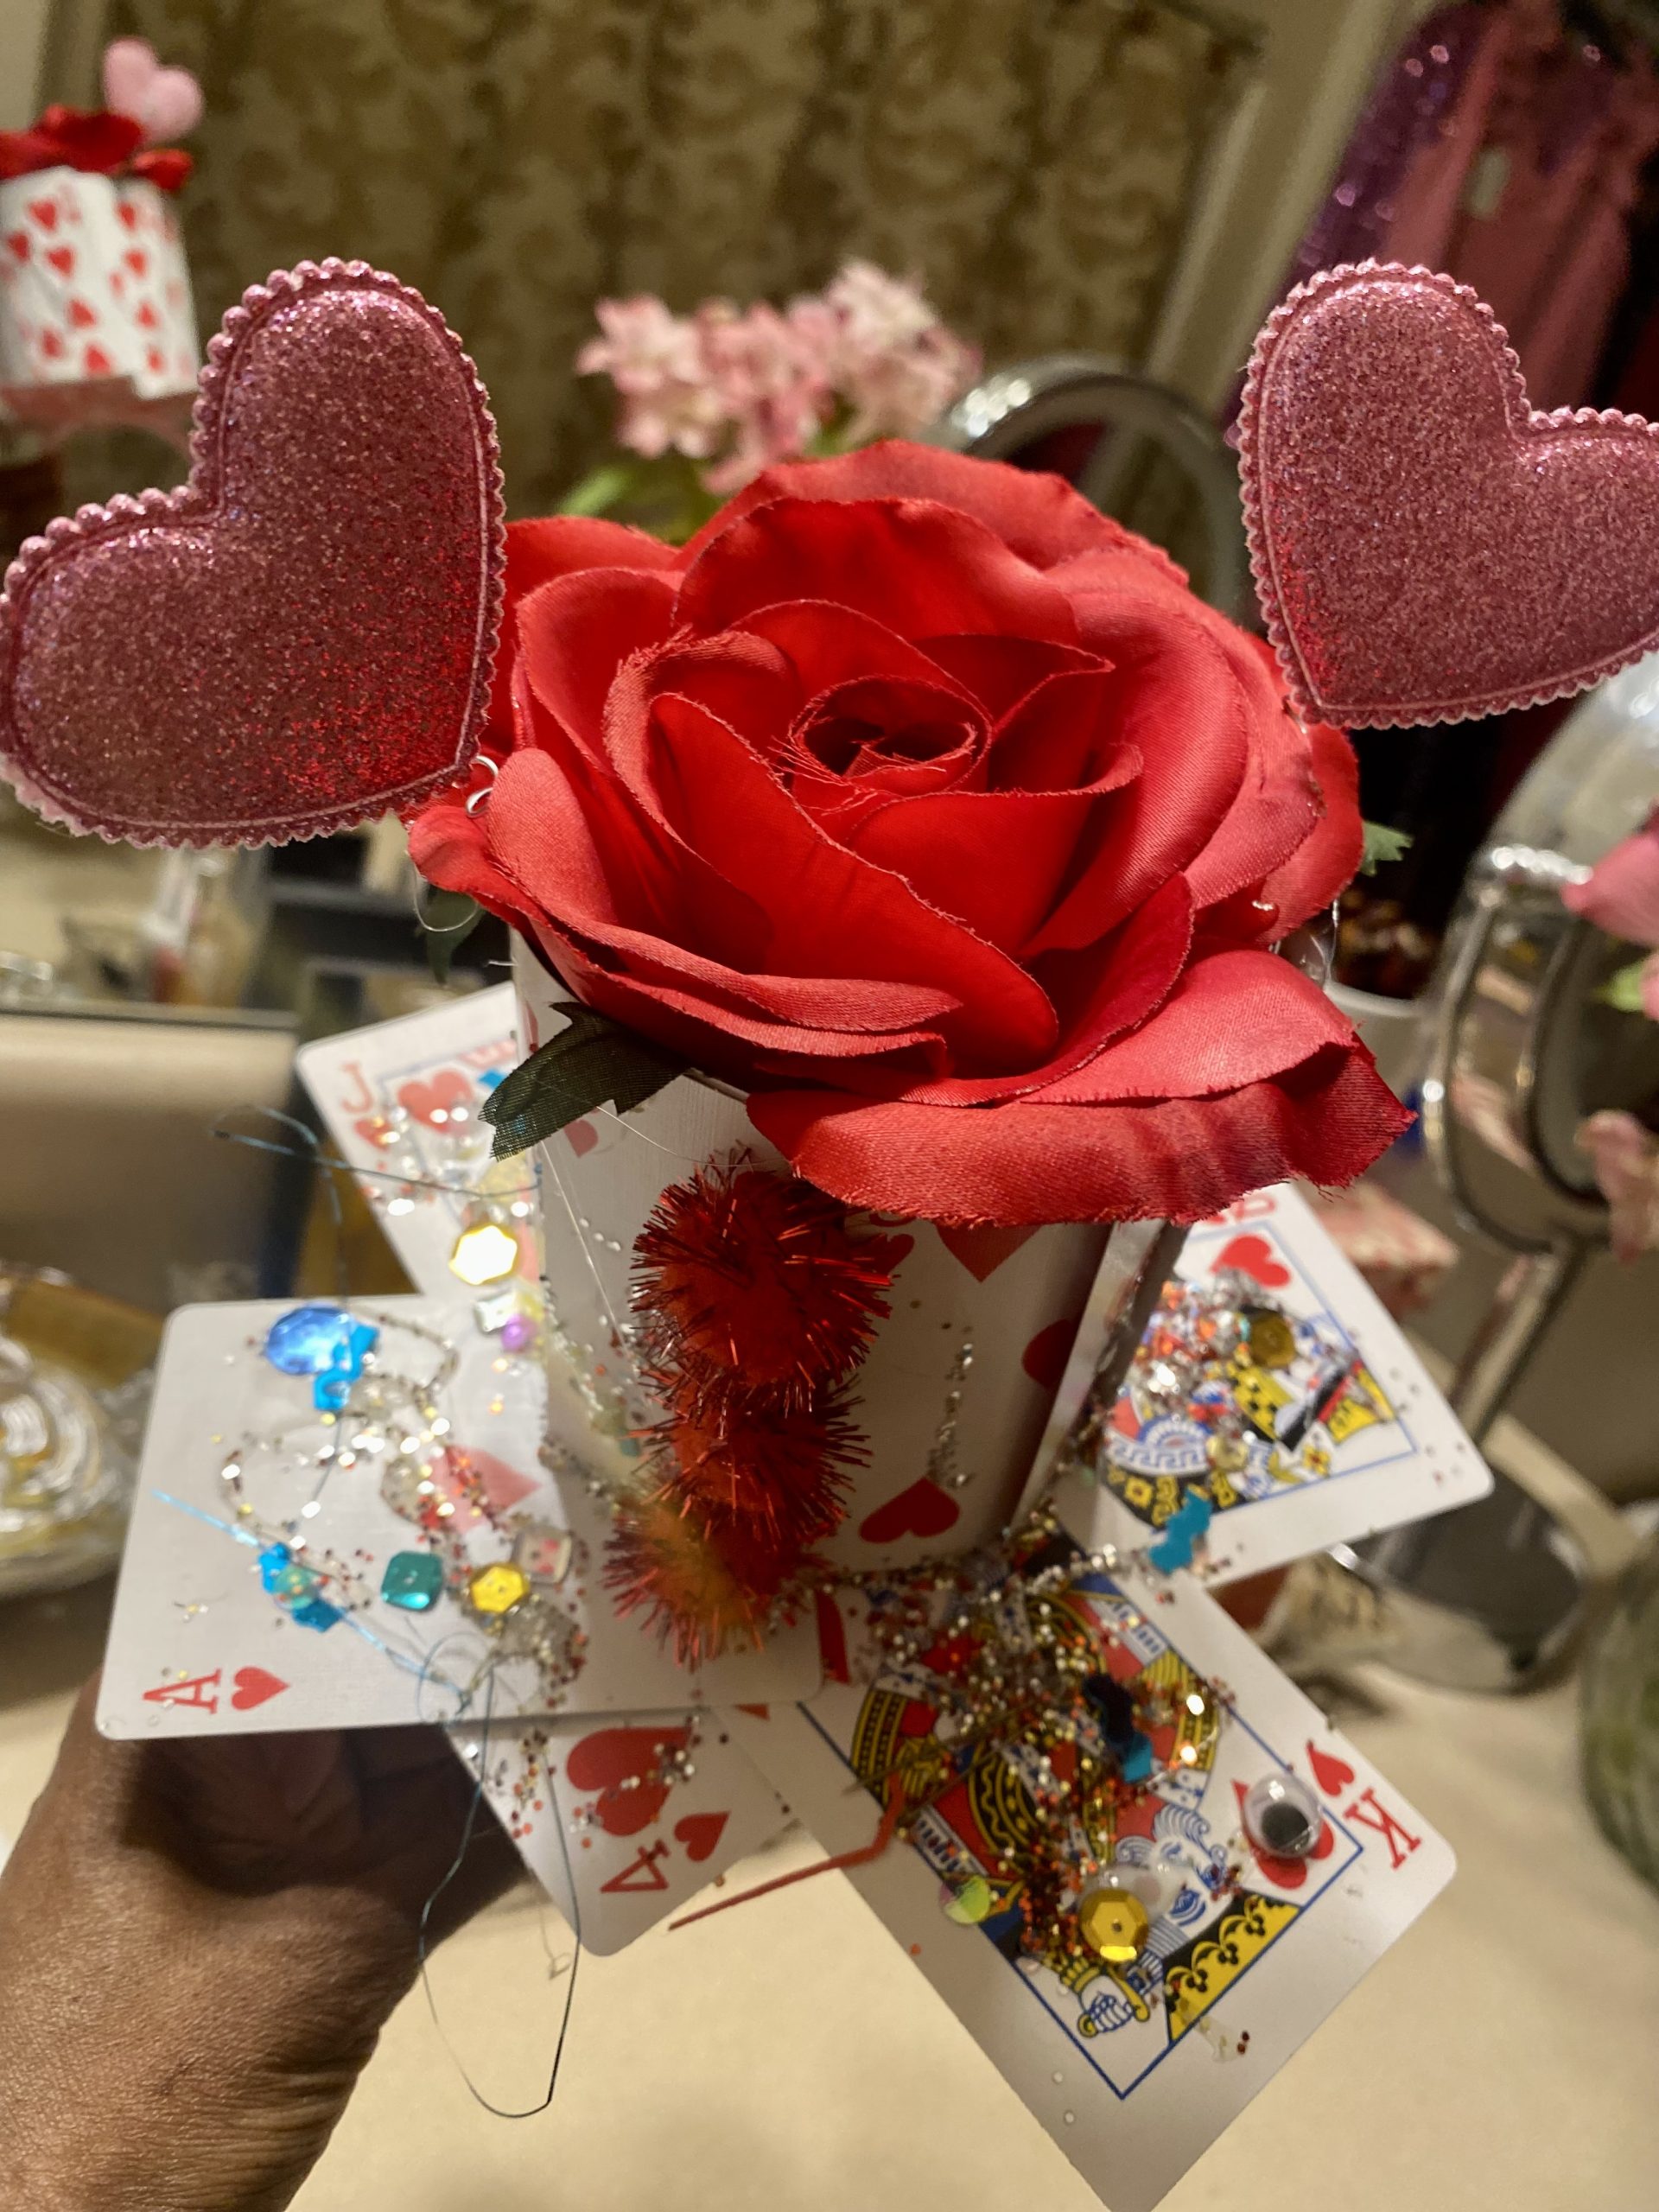
Place about five heart cards down from the deck, make sure there are no holes at the base of the cards
Glue together
Step 2:
Then you will take about 6 or 7 more cards and glue those together in a circle and glue that on top of first set of cards flat.
Let that dry
Then add your embellishments to give it some pizzazz!
I added a rose to the center of the hat to give it a bit more charm with hearts.
After completely dry, then glue the hat to a headband and let that sit.
Your all set to wear!
The post DIY: Queen Of Hearts Fascinator appeared first on Talking With Tami.
from Talking With Tami https://ift.tt/3jmiBVG


0 Comments